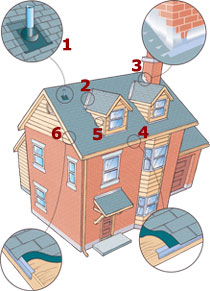
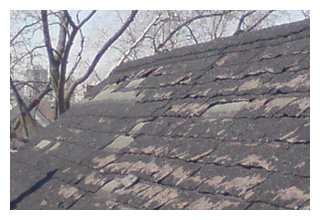
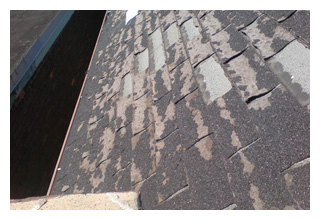
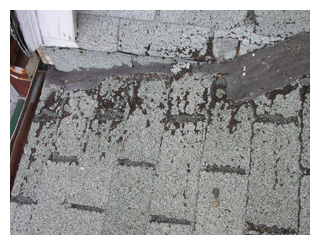
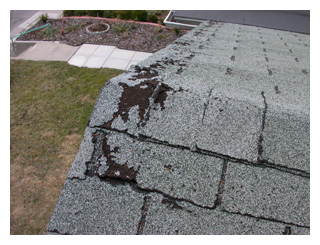
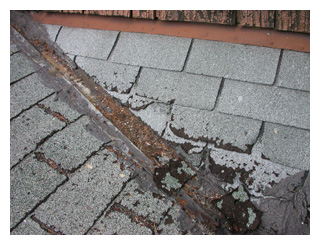
Not every roof should be change. Sometimes small patch is enough to solve the problem. He is our check list:
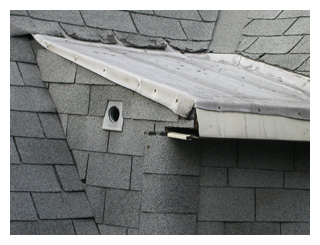
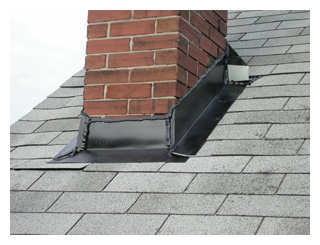
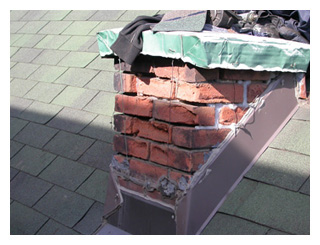
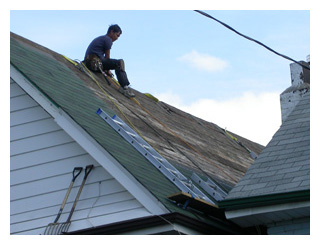
1. Vents, plumbing stacks and similar roof penetrations use purpose-made flashings combining rubber or neoprene sleeves and metal. The top and sides sit under the shingles, the bottom sits on top 2. There are several ways to shingle the seam between two sloped fields of the roof. Valleys can be open, as shown here, with a continuous strip of flashing underneath the trimmed shingles. Or valleys can be closed, so the shingles from each side of the valley are interwoven�an approach that requires more skill but experts argue is superior 3. Chimneys require a complex system of overlapping step flashing. Two keys to a long-lasting seal: the top edges must be mortared into the brick joint, and the back of the chimney (not shown) needs a cricket to divert water from very vulnerable roof seams
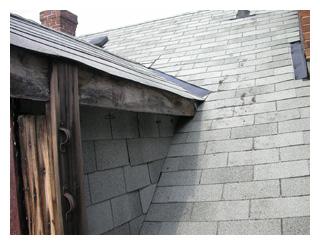
4. Anothr drip edge protects the fascia board and diverts water into the eavestroughs. This one should sit under the underlay 5. Where roof meets gable wall, the roofing underlay is folded to run at least 4" up the wall. On top of that, step flashing is woven in with the shingles. Finally, siding is installed on the wall and hides the leak-resistant seam beneath 6. A drip edge along the rake of a gabled roof is an often-missed detail, but it helps protect the rake board. It should sit above any underlay
Roof Types
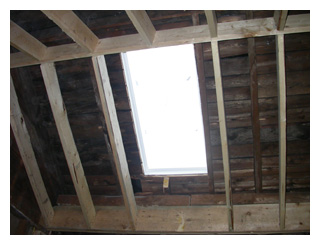
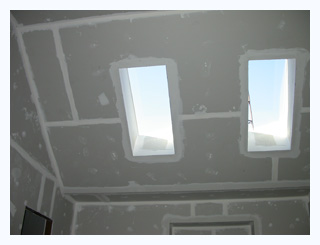
New cathedral ceiling.
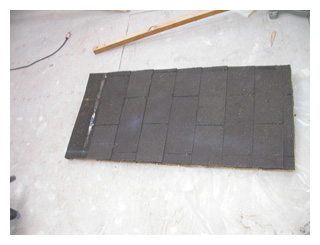
Cutted piece of existing roof on the ground. (2'x4')
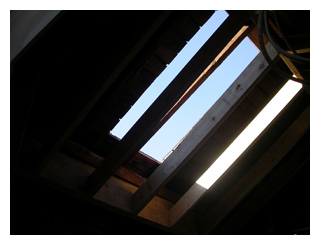
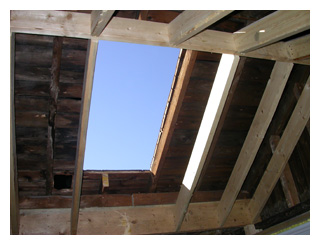
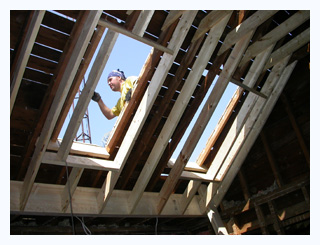
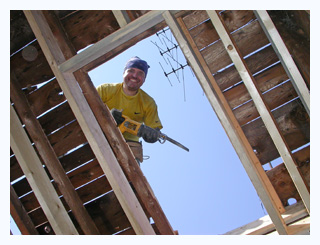
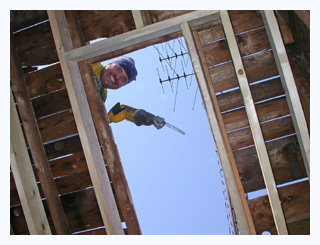
New openning.
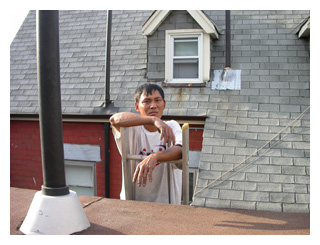
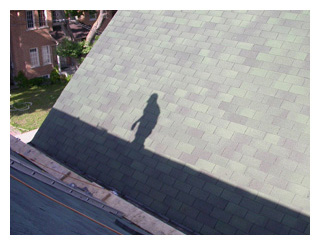
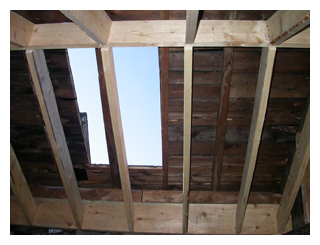
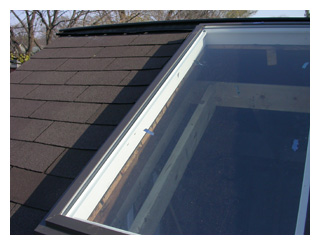
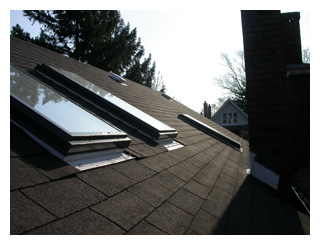
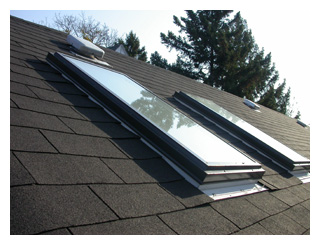
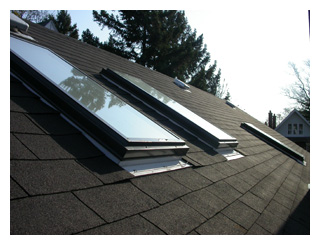
View from the top after roof has been repaired around skylight.
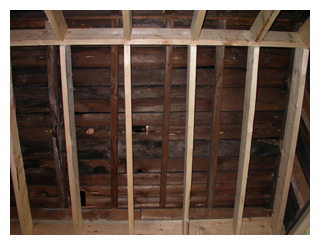
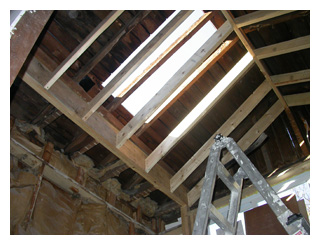
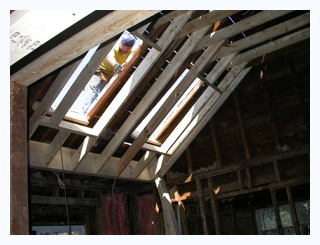
New framing for cathedral ceiling.
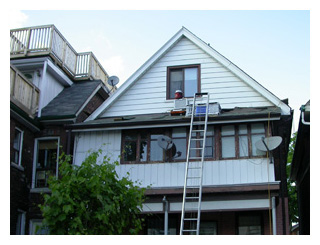
Two new skylights 2 by 4 feet on the west side of the roof.
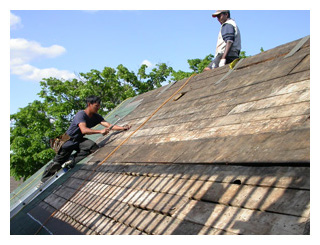
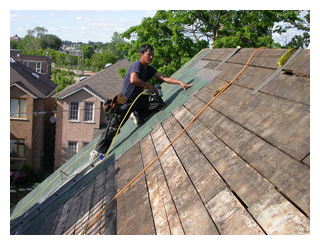
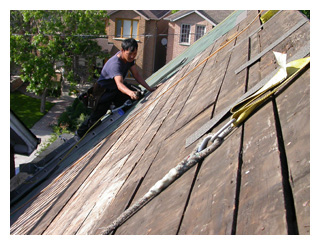
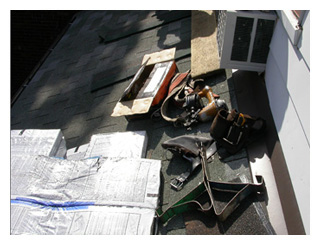
Finishing the opening. Ready to put new skylights and install new roof. Four layers of old shingles were stripped out. Thanks Joe & Joe roofing for helping with that project.
New shingles, new skylights, new roof, A+ look and feel.
New drywall and first coat of drywall compaund.
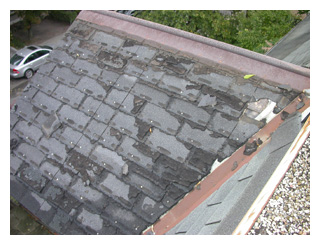
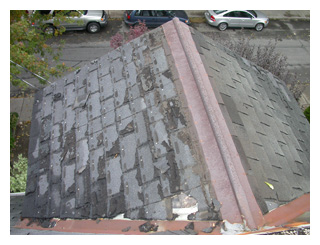
"Before"
"Before"
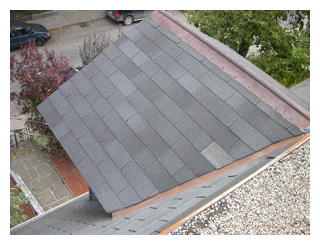
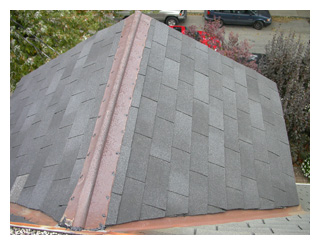
"After"
"After"
We can repair your roof of reroof it. Call us for free estimate at 647.705.5690
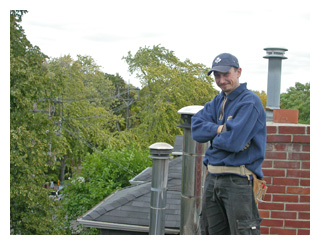
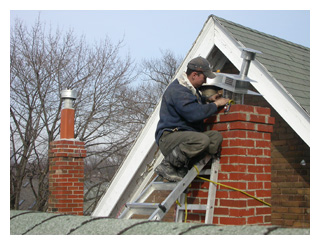
Chimney repair, tuckpointing, chimney liner installation. We love height, fresh air and city look from the roofs!
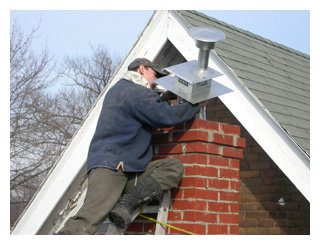
Missing chimney cap? Call us and will install one for you. No more rain, birds, squirrel or racoons in your chimney.
Chimney tuckpointing:
Cut out the mortar joint, horizontally and vertically. Usually, material is removed to a depth of between 1/2 and 3/4 of an inch.
Where brick damage or settling has severely damaged the joint, full removal and brick replacement may be necessary.
Clean up and prepare the joints for new material.
Reapply material to the prepared joints. Mortar must be packed tightly into the joints.
Before the mortar fully sets, a final tooling will be performed to create a smooth, concave look.
With a final cleaning after the mortar has cured, the job is complete.